
 Oscillating Multi-Tool Blades
 Reciprocating Saw Blades
 Cutting & Grinding
 Hole Saw
 Drilling
 Sanding & Polishing
 Socket & Driver Set
 Hand Tools
 Metal Worker & Fabrication
 Woodworking & Carpentry
 Electrical & Plumbing
 Automotive
 Concrete & Masonry
 Demolition
 NEW ARRIVALS
Before diving into the steps, let's clarify why undercutting in place is the gold standard for flooring installation:
- Flawless Visual Finish: The new floor appears as if it was installed before the door frame was built. There are no exposed raw cuts or awkward gaps filled with colored caulk.
- Maintains Expansion Gaps: Floating floors like LVP and laminate require a 1/4” to 3/8” expansion space along room edges. Undercutting allows the floor to expand and contract freely beneath the jamb without buckling.
- Saves Hours of Labor: Removing casing, pulling old nails, scraping old caulk, repairing drywall, reinstalling trim, and repainting can add 4 to 6 hours to a room installation. Undercutting takes less than two minutes per doorway.
Tools and Materials Needed
To achieve clean, effortless cuts without damaging surrounding surfaces, gather the following tools:
- Oscillating Multi-Tool: The essential power tool for flush-cutting timber and door frames in tight quarters.
- Extended Reach Blade: Standard multitool blades often lack the depth needed to cut through wide door frames. An extended reach blade with a 2-3/4” cutting depth allows you to cut completely through casing, side jambs, and door stops in a single pass.
- Scrap Piece of Flooring + Underlayment: Used as your exact height reference guide.
- Wood Chisel and Rubber Mallet: To pop out the severed wood block beneath the jamb.
- Vacuum / Shop-Vac: For clearing sawdust and debris out of the expansion channel.
- Safety Gear: Safety glasses, hearing protection, and a dust mask.

Step-by-Step Guide: How to Undercut Door Jambs
Follow this step-by-step process to undercut your door frames cleanly and efficiently.
Step 1: Prep the Work Area and Clean the Subfloor
Sweep or vacuum the subfloor thoroughly around the door opening. Grit or dust beneath your guide board will alter the cut height. This results in uneven clearance.
Step 2: Set Up Your Height Guide
Grab a scrap piece of flooring and a small piece of underlayment. Place the underlayment flat against the door casing. Layer the flooring scrap on top with the finish side up.
Pro Tip: Turn the scrap flooring upside down. This protects the top finish from friction scratches while guiding your multitool blade!
Step 3: Position the Oscillating Multi-Tool Flat
Attach your flush-cut blade to your oscillating multi-tool. Lay the blade flat against the scrap flooring piece. The scrap plank serves as a physical height stop. This guarantees the cut is at the exact height needed.
Step 4: Overcoming the Reach Obstacle (The Secret to Clean Cuts)

Standard multitool blades typically offer only 1-1/2 to 2 inches of depth. Standard blades often hit the outer casing at an awkward angle. They may run out of length before the inner door stop. This forces awkward plunge angles, causing jagged cuts or scuffs.
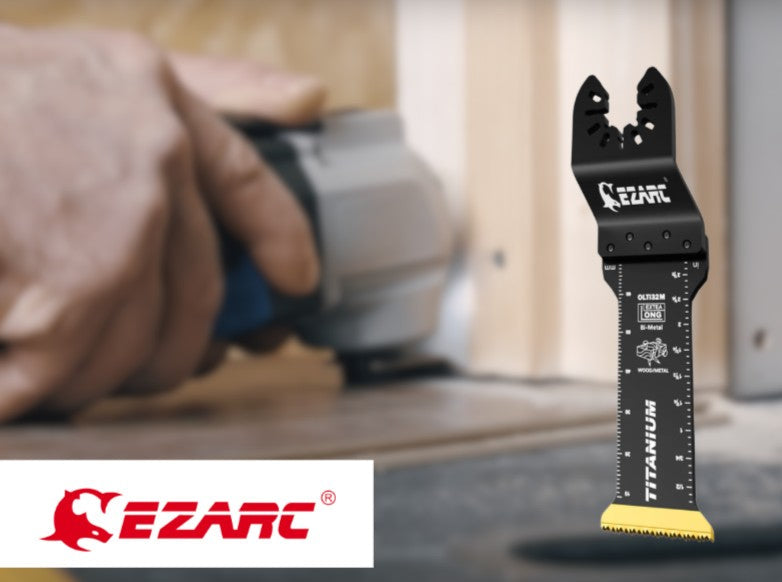
Using an EZARC Extended Reach Titanium Oscillating Saw Blade eliminates this problem. It features an extra 2-3/4 inches of length. This blade bridges the width of thick trim and deep jambs. Lay the blade flat and plunge through in one smooth stroke.
Step 5: Make the Horizontal Cut
Hold the multi-tool firmly with both hands, keeping the blade flat against the scrap flooring guide. Start the multi-tool at medium-high speed.
Slowly ease the blade into the door casing. Move from the outer molding toward the inside of the jamb. Guide the tool horizontally across the face. Let the motor do the work. Do not force the blade to avoid scorch marks.
Step 6: Clear the Severed Wood Waste
Turn off the power tool once you cut across the jamb. Place your wood chisel into the cut seam. Gently tap the handle with a rubber mallet. The severed wood block will pop free. Vacuum out all sawdust from the new cavity.
Step 7: Test-Fit Your Flooring
Slide your scrap flooring plank under the undercut door jamb. It should glide underneath smoothly without binding or lifting. You should have roughly 1/16” of vertical wiggle room, providing ample clearance for floor movement and installation ease.
Pro Tips for Undercutting Door Jambs Like a Pro
- Beware of Hidden Finishing Nails: Door jambs are commonly secured to wall framing with steel finish nails or heavy staples. Standard carbon steel blades instantly strip their teeth if they strike a hidden nail. Utilizing a durable titanium blade ensures that the teeth resist heat and easily slice through embedded finish nails without dulling or ruining your blade mid-project.
- Maintain Expansion Space Depth: Make sure your undercut extends deep enough into the wall cavity so the flooring plank can tuck under while maintaining a 1/4” expansion gap from the underlying wall framing.
- Metal Door Frames: If you are dealing with hollow metal door frames (common in basements or commercial spaces), wood-only cutting blades won't work. Switch to a metal-rated titanium blade and run your oscillating tool at a lower RPM with steady pressure to avoid overheating.
Why Blade Selection Matters: Upgrade Your Multitool Efficiency
Undercutting door jambs can quickly turn tedious if you are constantly changing burned-out blades or struggling to reach tight corners. Standard hardware store blades are often short, wear out after two or three cuts, and cost a premium.
The EZARC Extended Reach Titanium Multi-Tool Blade provides professional results. It is built for door frame undercutting. It also works for flush cutting boards and trimming under kickplates.
Key Features & Advantages:
- 2-3/4" Extra Reach: Reaches deep into narrow spaces and wide door jambs for complete one-pass cuts without hitting tool body housings against trim.
- Titanium-Enhanced Durability: Titanium-coated teeth provide exceptional heat resistance and superior chip evacuation, giving you up to 2x longer life compared to standard bi-metal options.
- High Efficiency Power Transfer: Designed for fast deep plunge cuts in wood, plasterboard, plastic, and non-hardened steel nails or screws, upgrading work progress up to 100% faster.
- Universal Compatibility: Fits seamlessly onto most major oscillating tool brands on the market, including Milwaukee, DeWalt, Makita, Fein, Ryobi, Porter Cable, Craftsman, and Black & Decker.

Final Thoughts
Undercutting door jambs without removing trim is an insider trick. It ensures clean, professional flooring installations. Set up your guide board and use an extended reach blade. You will save hours of trim removal for a seamless result.
Ready to tackle your next flooring project? Equip your oscillating multi-tool with the right extended reach blade and experience the difference precision tools make!


Leave a comment
This site is protected by hCaptcha and the hCaptcha Privacy Policy and Terms of Service apply.