
 Oscillating Multi-Tool Blades
 Reciprocating Saw Blades
 Cutting & Grinding
 Hole Saw
 Drilling
 Sanding & Polishing
 Socket & Driver Set
 Hand Tools
 Metal Worker & Fabrication
 Woodworking & Carpentry
 Electrical & Plumbing
 Automotive
 Concrete & Masonry
 Demolition
 NEW ARRIVALS
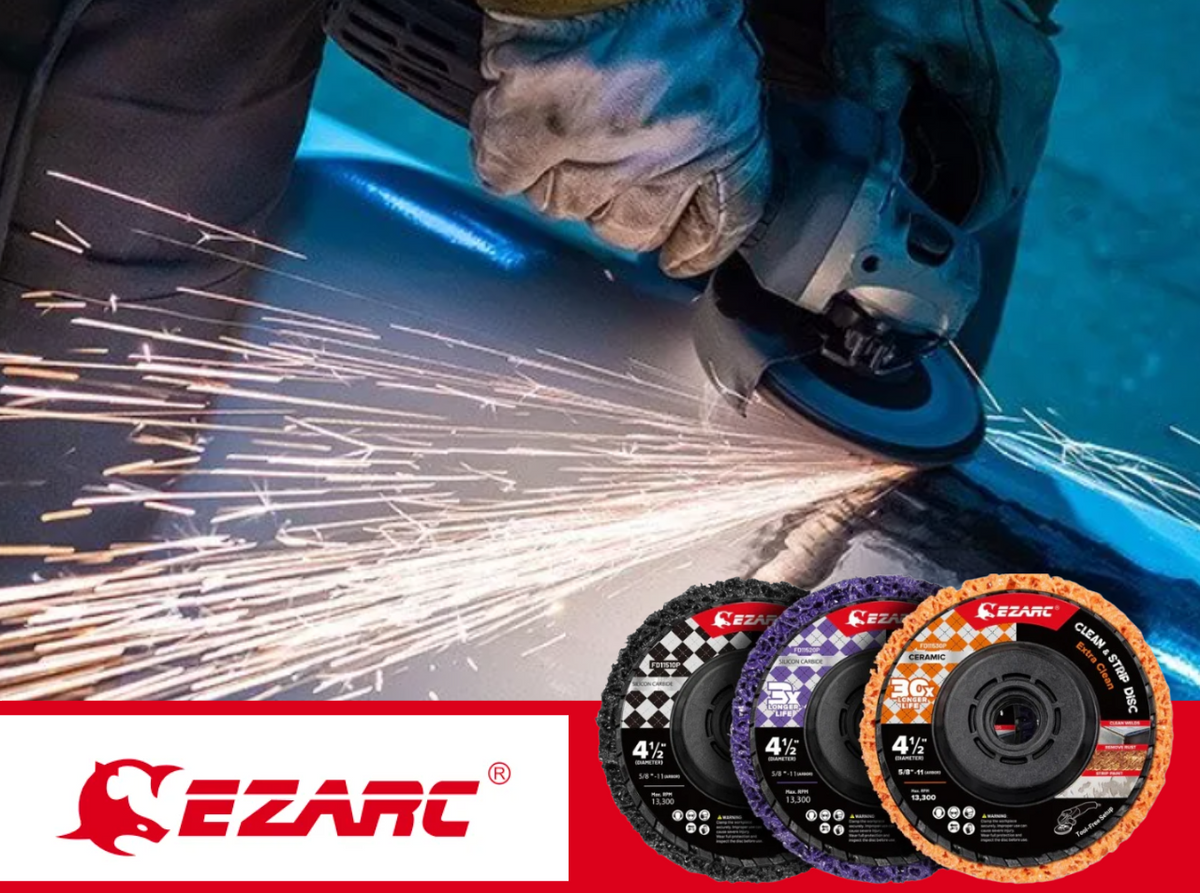
Any paint job is only as good as what's underneath it. Spray fresh paint over old clear coat, rust, or old filler. This can cause bubbling, peeling, or a poor finish. A good finish requires careful paint work. If repainting, get down to clean, bare metal first. This is not optional for any repaint job. Here's how to do it right. Use an angle grinder to handle the heavy lifting.
Why Panel Prep Makes or Breaks the Paint Job
New paint needs a clean, properly roughened surface to bond to. Old clear coat, factory paint, primer, and any rust hiding underneath all get in the way. Even the best paint and clear coat combination will fail early over a panel that wasn't stripped and prepped correctly. Most bad paint jobs trace back to rushed prep, not bad paint.

What You'll Need
- An angle grinder (4-1/2" is the standard size for panel work)
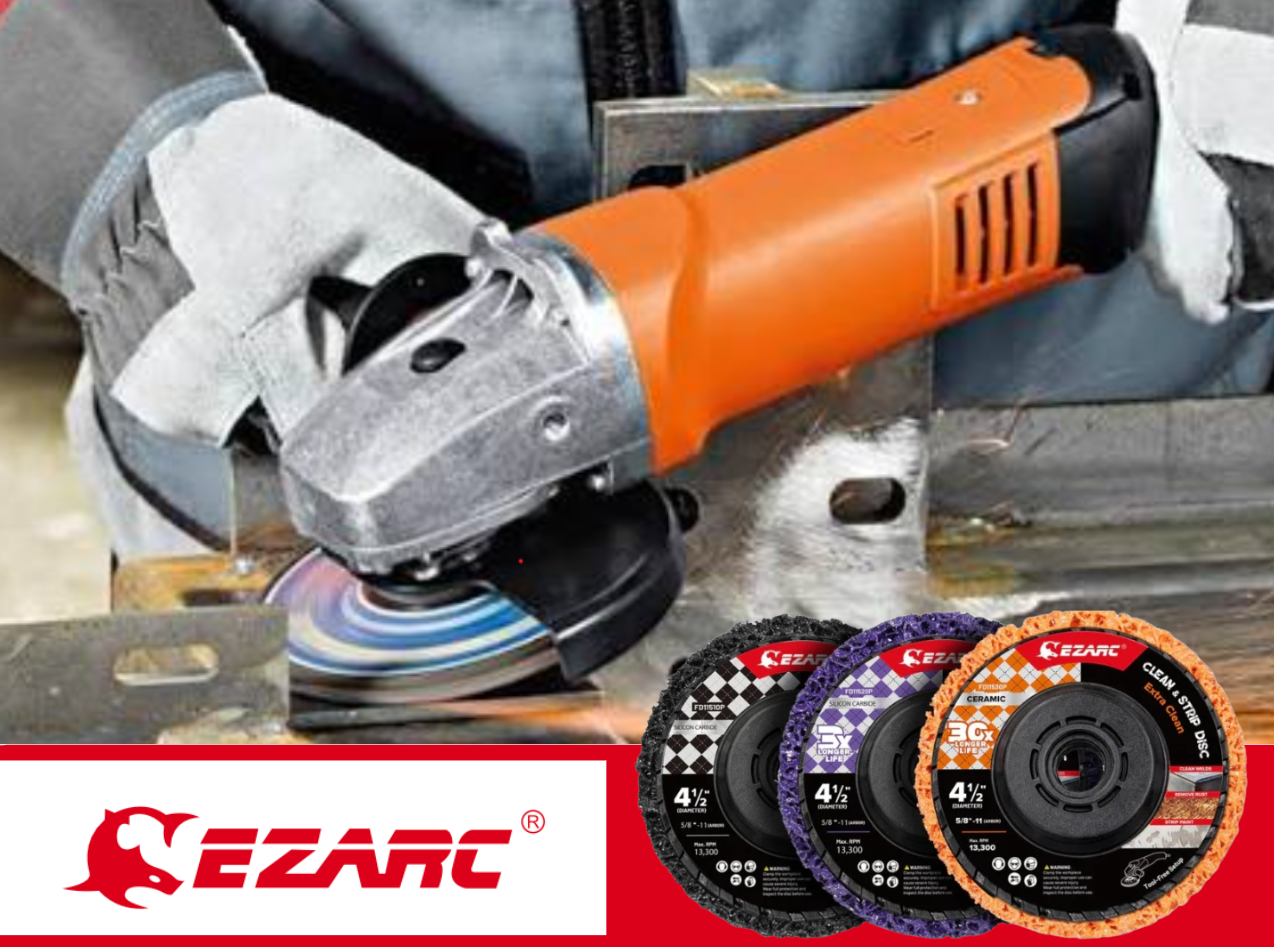
- A set of stripping discs — orange, purple, and black
- Body filler and sandpaper for any dents or pitting
- Degreaser or wax and grease remover
- Automotive primer suited to bare metal
- Eye protection, gloves, and a respirator or dust mask
- Painter's tape and masking paper for surrounding panels
Any standard 4-1/2" angle grinder will handle this kind of work — you don't need anything specialized for automotive panels.
Step 1: Assess the Panel
Before using the grinder, look the panel over closely. Note flaking or bubbling paint. See where rust has taken hold. Check for pitting or thinning in the metal. Panels with rust-through or heavy pitting need more than surface prep. This may mean a patch panel. Do not just strip and repaint compromised metal.
Step 2: Mask Off Surrounding Areas
Tape off adjacent panels, trim, glass, and other areas. Grinding throws dust and small debris. It is easier to protect bodywork upfront. This avoids buffing out scratches later.
Step 3: Degrease First
Wipe the panel with wax and grease remover before grinding. Old wax, grime, and oil can get ground into the metal. This causes problems for paint adhesion later on.
Step 4: Strip the Old Paint and Rust

This is where your angle grinder does real work. Mount an orange ceramic stripping disc. Use it for heavily rusted or thickly coated sections. This grade works on old, layered paint. It is faster than sanding by hand.
Work in smooth, overlapping passes. Do not dwell in one spot. Keep the angle grinder moving steadily. These discs spread grinding force evenly. This prevents hot spots. Hot spots can warp thin automotive sheet metal.
Step 5: Switch to Purple for General Stripping
Once past the worst paint and rust, use a purple disc. This disc works for the rest of the panel. It offers strong cutting power for paint and light rust. It gives more control than ceramic discs. This is useful near bare metal to avoid over-grinding.
Step 6: Finish With Black Near Body Lines and Edges
Car panels have curves, body lines, and edges. You don't want to remove too much material. Switch to a black disc for these areas. Also use it for a final light pass. This keeps the surface even. It prevents flattening body lines or thinning metal.
Step 7: Check for Rust in Seams and Low Points
Rust collects in seams. It also gathers along panel bottom edges and water pooling spots. Go back over these areas specifically. They are easy to miss on a first pass. This is where rust most likely reappears if not cleared.
Step 8: Address Dents and Imperfections
With the panel stripped, dents and imperfections are visible. Handle body filler work now. Feather the filler edges with your grinder and a black disc. This makes the transition smooth. It prevents telegraphing through new paint.
Step 9: Final Wipe-Down
Once stripping and filler work are done, wipe the panel down thoroughly to remove dust and debris. Any leftover grinding dust trapped under primer will show up as texture in the finished paint job.
Step 10: Prime Promptly
Bare metal oxidizes almost immediately when exposed to air. This is especially true in humid conditions. Apply automotive primer as soon as the panel is clean and dry. Do not leave bare metal sitting overnight if possible.
Common Mistakes That Ruin a Panel Repaint
- Skipping degreasing and grinding oil straight into the surface
- Using one disc for the whole job instead of stepping down from orange to purple to black on your angle grinder
- Grinding too aggressively near body lines, softening details that are hard to restore
- Missing rust in seams and low points, letting it resurface under the new paint
- Leaving bare metal exposed too long before primer goes on
How Long Does a Panel Repaint Prep Take?
For a single fender or door, plan on 1-2 hours. Grinding time depends on rust and old paint. A full quarter panel takes longer. Multi-panel restoration also takes more time. Factor in body filler and multiple primer coats. Grinding finishes prep faster than hand sanding. An afternoon vs. an entire weekend.

Why an Angle Grinder Beats Hand Sanding for This Job
Hand sanding a full panel takes hours. It rarely produces an even result on curves. An angle grinder with the right disc works faster. It clears old paint and rust quickly. Switching grades gives you control. This protects body lines while stripping efficiently. For more than a small touch-up, an angle grinder is best. It is the more practical tool for paint-ready panels.
The Bottom Line
A great paint job starts with a properly stripped panel. It's not a rushed scuff-and-spray. Assess the damage first. Degrease the surface. Strip old paint and rust in stages. Use an angle grinder for this. Orange for heavy lifting, purple for cleanup, black for details. Apply primer before bare metal oxidizes. Put in the time now. The paint job will hold up as it should.

Leave a comment
This site is protected by hCaptcha and the hCaptcha Privacy Policy and Terms of Service apply.