
 Oscillating Multi-Tool Blades
 Reciprocating Saw Blades
 Cutting & Grinding
 Hole Saw
 Drilling
 Sanding & Polishing
 Socket & Driver Set
 Hand Tools
 Metal Worker & Fabrication
 Woodworking & Carpentry
 Electrical & Plumbing
 Automotive
 Concrete & Masonry
 Demolition
 NEW ARRIVALS
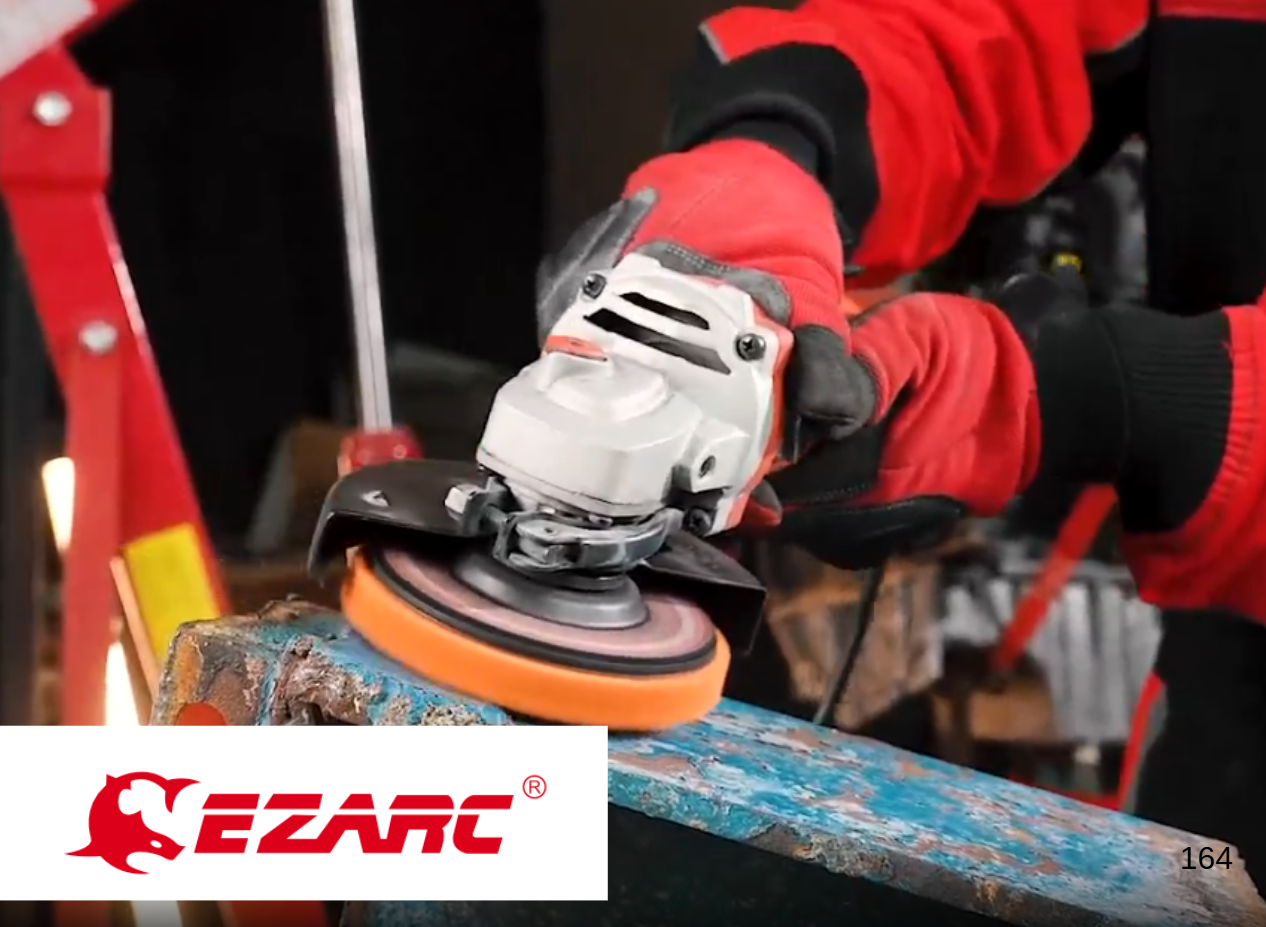
Paint and powder coating are only as good as the surface underneath them. If you spray a fresh coat over rust, grease, or old flaking paint, it will fail. Even if you've tried to remove it with an angle grinder, it will fail. It doesn't matter how good the product is. It's going to fail early, bubble, peel, or flake right off. Most coating failures aren't a paint problem. They're a prep problem.
The good news is that proper metal prep isn't complicated. It just takes the right steps, done in the right order. Use the right tool for each stage. Here's how to get a metal surface truly ready for paint or powder coating. Use an angle grinder to do the heavy lifting.
Why Surface Prep Matters More Than the Paint Itself
Paint and powder coating need a clean, slightly roughened surface to bond. Rust, mill scale, old paint, grease, and oxidation all prevent that bond. Even a coating rated for tough conditions will fail early. This happens if it's applied over a compromised surface. Skipping or rushing prep is the biggest reason people redo paint jobs. They redo them within a year or two. The finish should last much longer.
Step 1: Assess the Surface

Before grabbing any tool, take a look at what you're dealing with. Is it bare metal with light surface rust? Or heavy corrosion with pitting? Is it old paint that's flaking? Or weld discoloration on a fabricated piece? The surface condition determines how aggressive your prep needs to be. Getting this step right saves time later.
Step 2: Remove Grease and Contaminants
Wipe down the surface with a degreaser or solvent. This removes oil, grease, and dirt. Grinding over greasy metal just spreads contamination. It does not remove it. Any oil left behind can interfere with paint adhesion. This is true even after the surface looks clean.
Step 3: Strip Rust, Paint, and Scale With an Angle Grinder
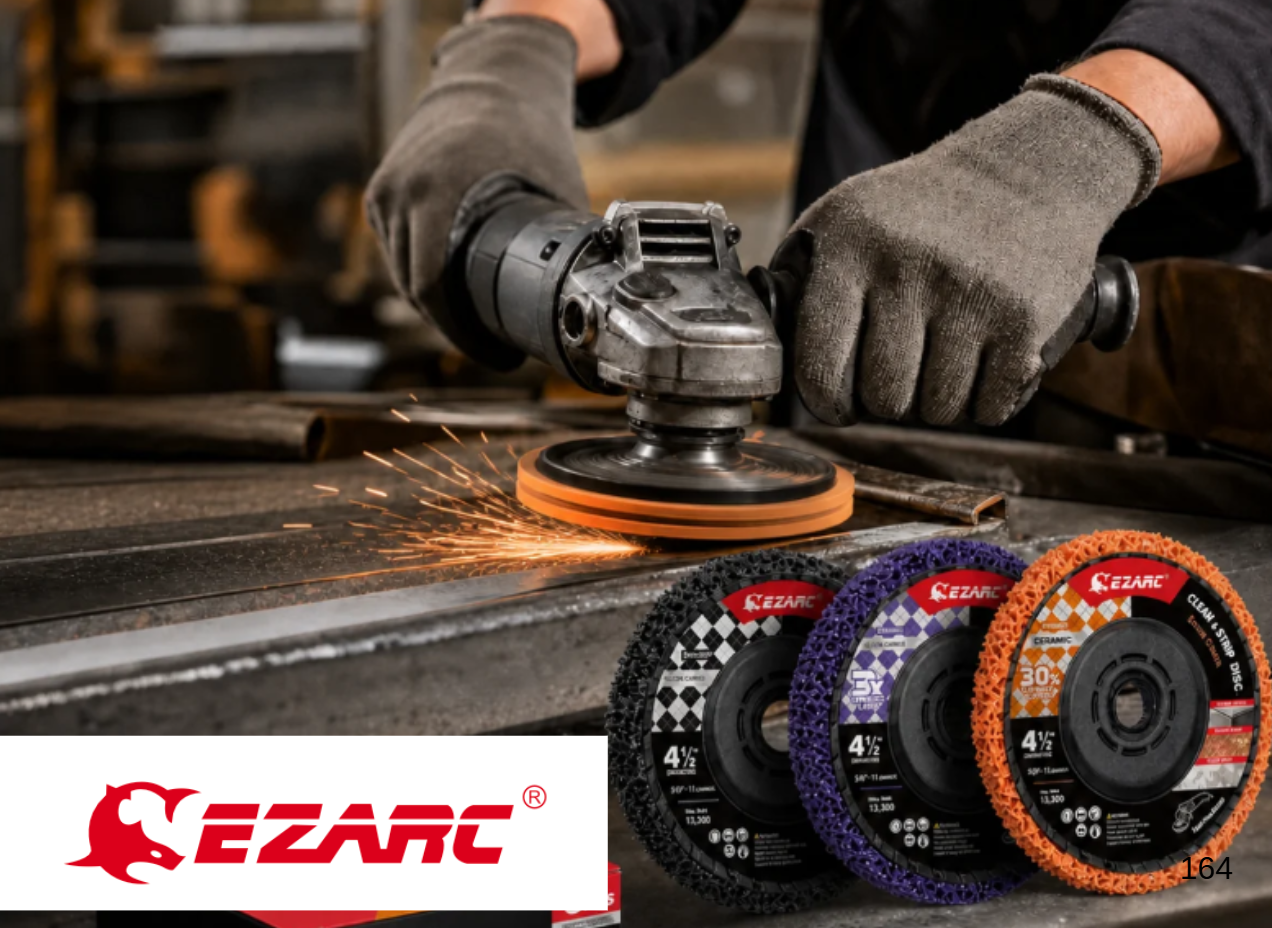
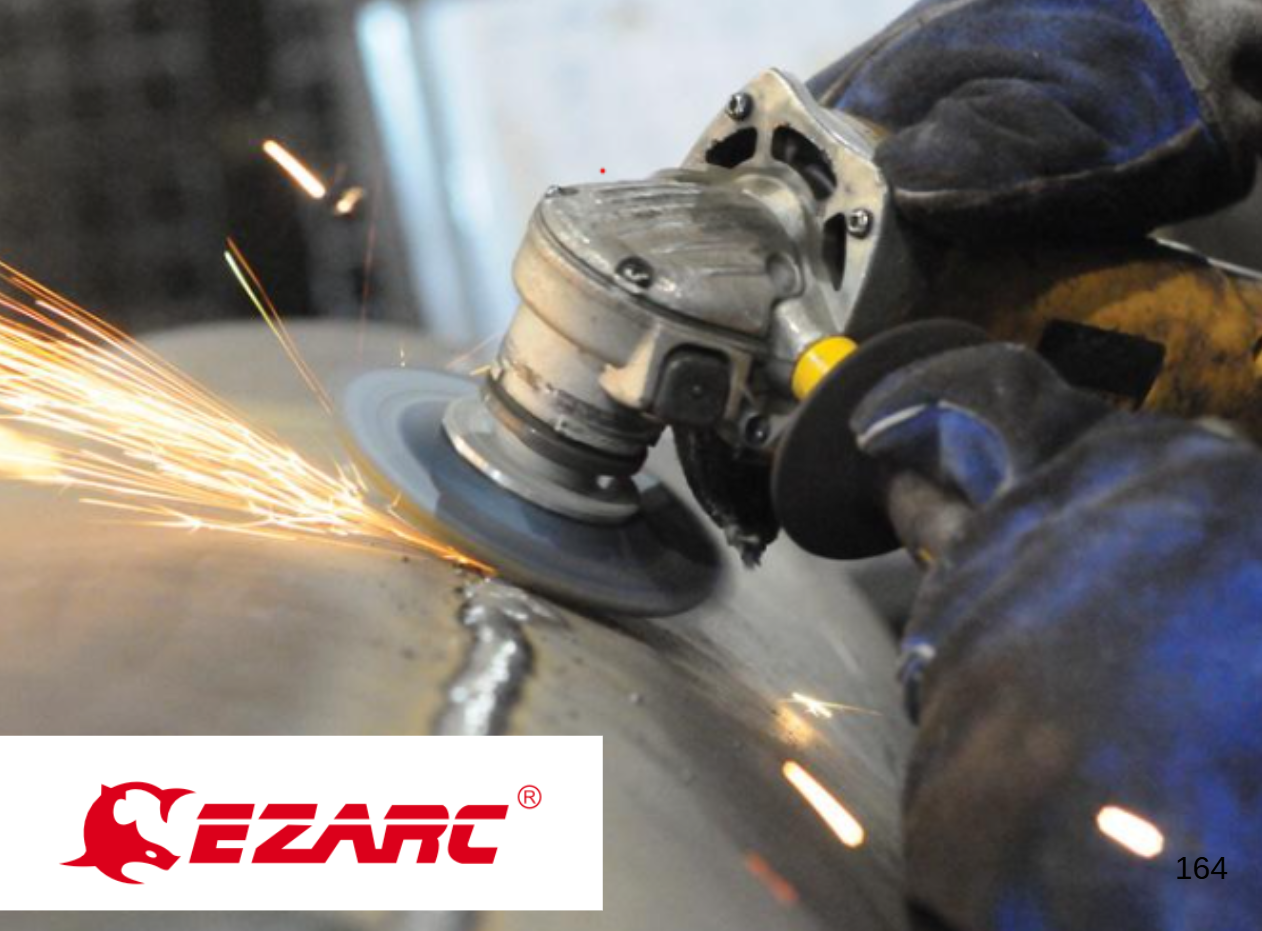
This is where the real work happens. An angle grinder with a stripping disc is fast and practical. It clears rust, old paint, mill scale, and oxidation. It gets surfaces down to a clean, coating-ready state. Hand sanding or a wire brush are slower. Both leave a less consistent finish.
Match the disc to the condition of the surface:
- Heavy rust, thick old paint, or tough alloys and stainless steel: an orange ceramic disc on your angle grinder clears this fast without wearing down early.
- Moderate rust or general steel prep: a purple disc offers strong cutting power with easier control than ceramic.
- Light rust, thin paint, or softer metals like aluminum and copper: a black disc cleans the surface without removing more material than necessary.
Run the angle grinder in smooth, overlapping passes. Do not dwell in one spot. The open mesh on a stripping disc spreads grinding force evenly. This helps limit heat buildup. It keeps thinner panels from warping. This happens while you strip the surface down.
Step 4: Feather the Edges
If you're stripping paint in a localized spot, feather the edges. Do this where bare metal meets the remaining paint. A light pass with your angle grinder and a black disc smooths the transition. It won't show through the new coating once applied and cured.
Step 5: Check for Remaining Rust or Coating in Corners

Rust and old coating love to hide in corners, seams, and tight spots. These are easy to miss on a first pass. Go back over the surface under good light. Touch up any spots your angle grinder missed. A surface that's 90% clean will still let the coating fail. It will fail at the 10% that wasn't clean. It's worth the extra couple of minutes to check.
Step 6: Clean Off Dust and Debris
Once stripping is done, wipe the surface down thoroughly. Remove grinding dust and debris. A tack cloth or clean rag works well. Any leftover dust under a new coat will show up. It will appear as texture or weak spots later.
Step 7: Apply Primer as Soon as Possible
Bare, freshly stripped metal is vulnerable. It can start oxidizing again within hours. This is especially true in humid conditions. Apply a primer suited to bare metal immediately. Do this once the surface is clean and dry. Don't let it sit exposed overnight.
Step 8: Choose the Right Topcoat for the Environment
Paint or powder coat rated for the conditions the piece will actually face. Outdoor items like gates, trailer frames, and railings need coatings built to handle UV exposure and moisture. Indoor tools and equipment have more flexibility, but a quality topcoat still protects the prep work you just put in.
Common Prep Mistakes That Ruin a Good Paint Job
- Skipping degreasing and grinding straight over oily metal
- Using too light a disc grade on heavy rust, leaving contamination behind that shows up later as bubbling
- Rushing the corners and seams where rust and old coating hide
- Leaving bare metal exposed too long before primer goes on
- Grinding too aggressively on thin or soft material, warping the panel or removing more metal than intended
Why an Angle Grinder Is the Right Tool for This Job

Compared to hand sanding, chemical strippers, or a wire brush, an angle grinder is better. It gets you a clean, properly roughened surface faster and more evenly. It handles heavy rust and thick old paint. It also handles a final light pass before primer. All with the same angle grinder. Just use a different disc for each stage. That's fewer steps and less guesswork. You avoid juggling multiple prep tools. Once you've prepped a panel or frame this way, it's clear. Many shops build their prep process around one angle grinder and discs.
Quick Answers on Metal Prep Before Coating
How rough should the surface be before painting? You want a light, even scratch pattern. Not a mirror-smooth surface. That texture gives paint or powder coat something to grip. A stripping disc on an angle grinder leaves this finish. It does so when run in smooth, overlapping passes.
Can I use the same disc for rust removal and final prep? You can, but it's better to step down in aggression. Start with a heavier disc on your angle grinder. Use it for rust and old paint. Then switch to a lighter grade for the final pass. This prevents over-grinding the surface.
How long can bare metal sit before it needs primer? As short as possible — ideally the same day, especially in humid conditions. Freshly stripped metal starts oxidizing again quickly once it's exposed to air.
The Bottom Line
A paint or powder coat job is only as strong as the prep. Assess the surface. Degrease it. Strip it down with an angle grinder and the right disc. Clean up the dust. Get primer on before bare metal oxidizes. Take the time to do it right. The finish will last years longer. This beats a finish applied over a shortcut.

コメントを書く
このサイトはhCaptchaによって保護されており、hCaptchaプライバシーポリシーおよび利用規約が適用されます。