
 Oszillierende Multifunktionswerkzeug-Sägeblätter
 Säbelsägeblätter
 Schneiden & Schleifen
 Lochsäge
 Bohren
 Schleifen & Polieren
 Steckschlüssel- und Knarrensatz
 Handwerkzeuge
 Metallbauer & Fertigung
 Holzbearbeitung & Zimmerei
 Elektro- & Sanitärinstallationen
 Automobil
 Beton & Mauerwerk
 Abriss
 NEUHEITEN
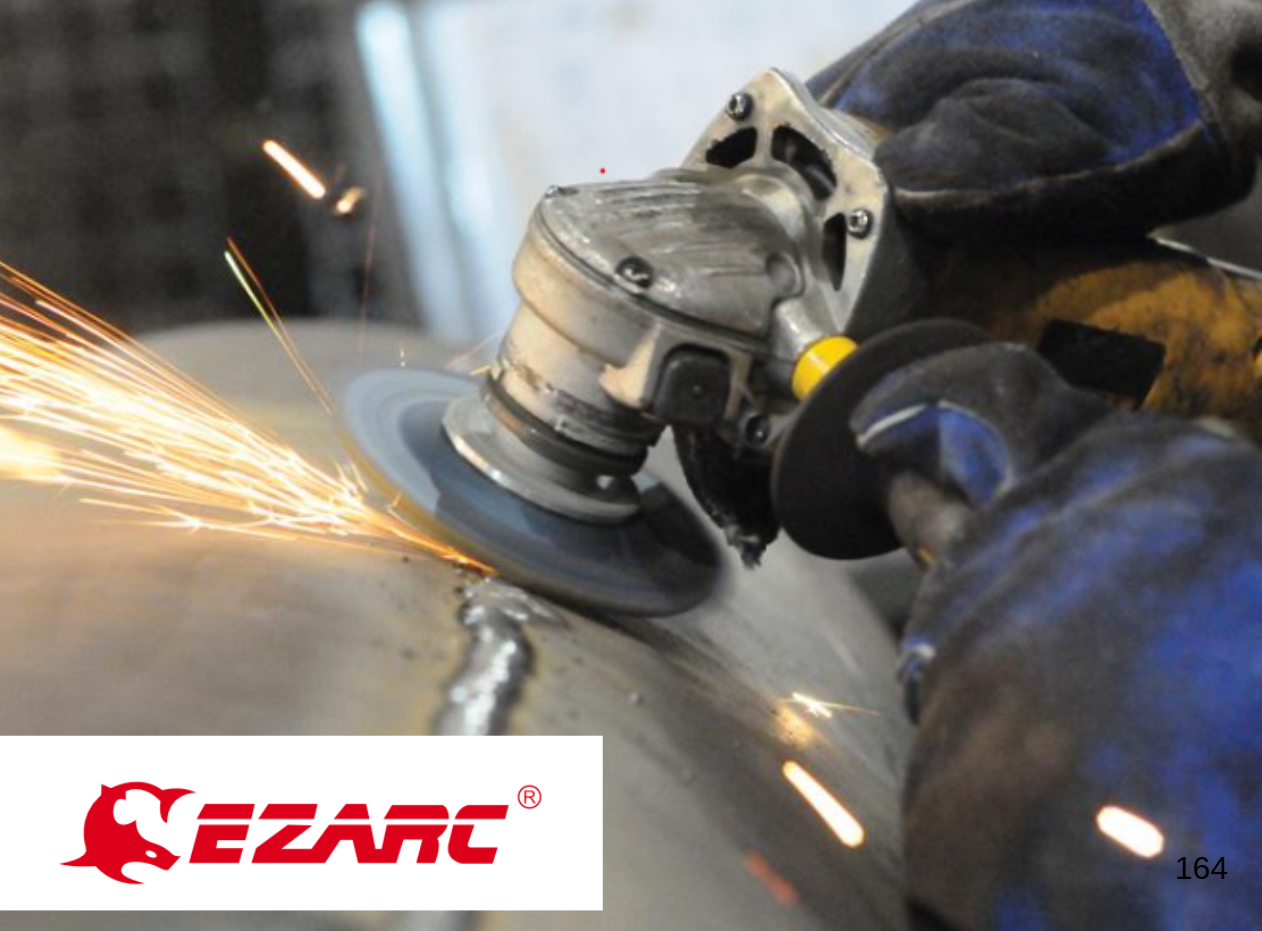
A good weld doesn't always look good immediately. Heat discoloration, slag, spatter, and oxidation can make welds look rough. If prepping for paint, powder coat, or inspection, the surface must be clean. Often, an angle grinder is needed. Skip this step, and you risk poor coating adhesion. Missed defects and an unfinished look may result. This happens even with a good weld.
Here's a straightforward way to clean welds. Remove discoloration properly with an angle grinder. Most fabricators already own this tool.
Why Weld Discoloration Happens

Blue, purple, and straw-colored discoloration around a weld is heat tint. This oxidation is caused by welding heat reacting with the metal. It's most common on stainless steel. It also appears on carbon steel and alloy steel. This is not just cosmetic. Leftover oxidation compromises corrosion resistance on stainless steel. It interferes with paint or coating adhesion on any metal. Cleaning it properly matters for long-term performance. Use an angle grinder, not just a brush. This ensures the finished piece performs well. It's not just about how it looks on day one.
What You'll Need
- An angle grinder (4-1/2" is the standard size for most weld cleanup work)
- A stripping disc suited to the metal and severity of discoloration
- Eye protection, gloves, and a dust mask
- A clean cloth or brush for final wipe-down
Step 1: Inspect the Weld First
Before grinding, examine the weld closely. Check for spatter, slag, and uneven buildup. Note the extent of discoloration. This shows how aggressive you need to be. Determine if it's light heat tint or stubborn oxidation.
Step 2: Choose the Right Disc for the Metal
Not every weld needs the same level of cleaning power. Matching your stripping disc to the job keeps you from over-grinding the weld or under-cleaning a tough surface:
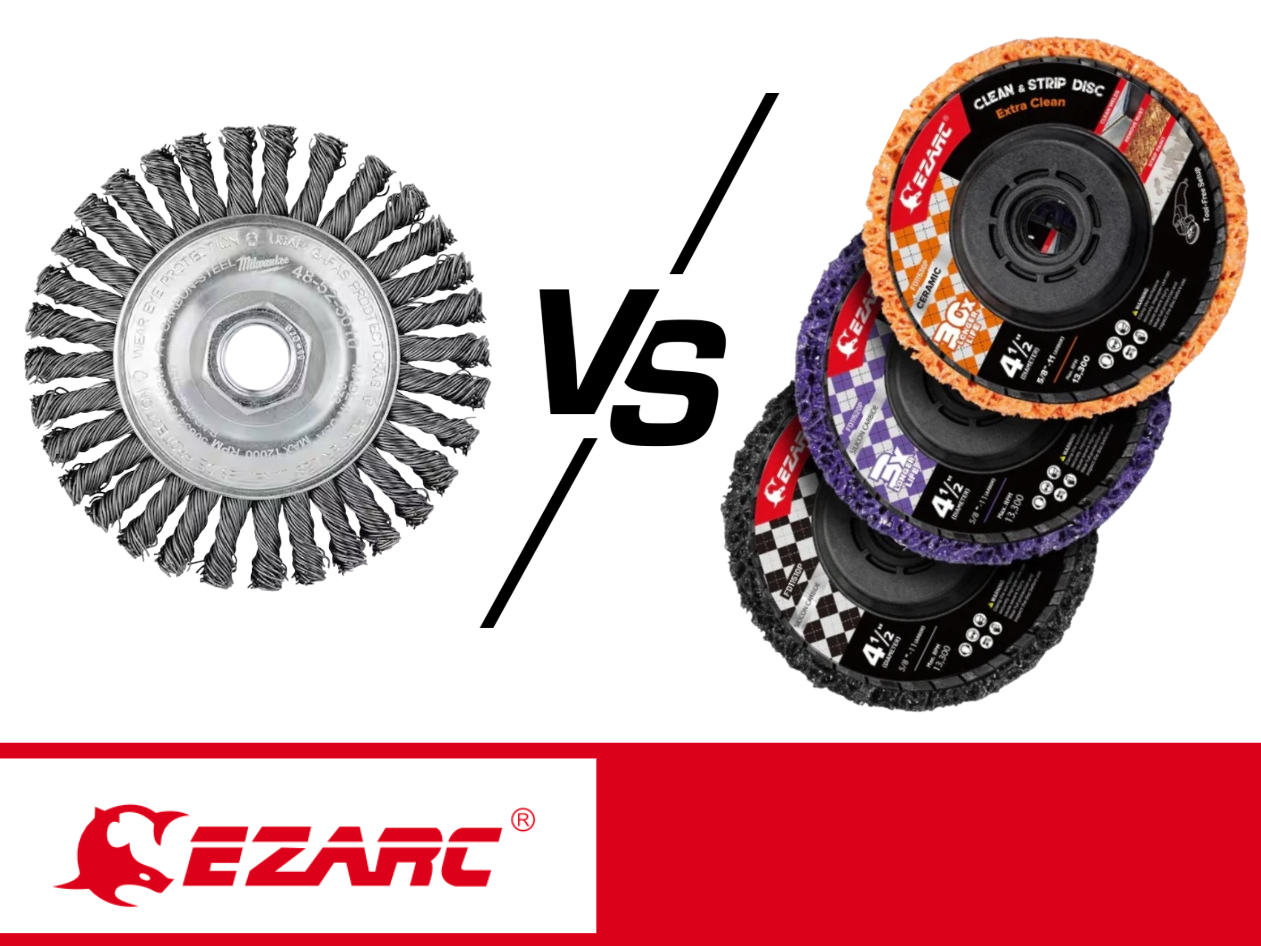
- Heavy scale, thick discoloration, or high-strength alloys and stainless steel: an orange ceramic disc handles this level of buildup without wearing down fast.
- Everyday weld discoloration on carbon steel or alloy steel: a purple disc gives you strong cutting power with more control than ceramic.
- Light heat tint or a final light pass: a black disc cleans up the surface without removing more material than necessary.
Starting with the right grinder grade saves time. It prevents removing unnecessary metal.
Step 3: Set Up Your Angle Grinder
Mount the stripping disc securely. Ensure the arbor size matches your angle grinder. Most 4-1/2" discs use a 7/8 inch arbor hole. These fit standard grinders without an adapter. Confirm your grinder's rated speed. It must not exceed the disc's maximum RPM. Most stripping discs top out around 13,300 RPM.

Step 4: Clean the Weld in Smooth, Even Passes
Turn on the angle grinder. Let it reach full speed before touching the metal. Run the disc along the weld seam. Use smooth, overlapping passes. Do not hold it in one spot. The open mesh spreads grinding force evenly. This limits heat buildup. It keeps you from warping thinner material. Work through discoloration and scale carefully.
Work in short sections, checking your progress as you go. It's easier to make a second pass than to grind away more material than you meant to.
Step 5: Check for Even Coverage
Once discoloration is gone, inspect the weld. Use good light. Heat tint can hide in corners. Check along the toe of the weld. Double-check those spots. If prepping for paint or coating, the surface should look consistent. Avoid shiny discolored patches next to dull cleaned metal.
Step 6: Switch Discs for a Final Pass (If Needed)

If you used an aggressive disc first, try a final pass. A black disc on your angle grinder smooths things. It leaves a cleaner finish before coating. This step is not always necessary. It is good for visible welds or cosmetic work.
Step 7: Wipe Down and Prep for Coating
Once the weld is clean, wipe away dust. Use a clean cloth for grinding debris. The surface is bare and vulnerable now. Oxidation or rust can start to form again. Apply primer or your chosen coating quickly.
Common Mistakes to Avoid
- Using a disc that's too aggressive for a delicate weld — this can dig into the base metal and weaken the joint.
- Grinding in one spot too long — excess heat can cause discoloration to reappear or warp thin material.
- Skipping eye and hand protection — an angle grinder throws debris fast, even with a stripping disc's more controlled mesh design.
- Not switching grades between heavy discoloration and finish work — one disc rarely does the whole job as well as matching the grade to each stage.
- Rushing the final inspection — a weld that looks clean from one angle can still have heat tint hiding along the toe, so give it a second look under good light before calling the job done.
Why an Angle Grinder Beats Manual Methods for Weld Cleanup
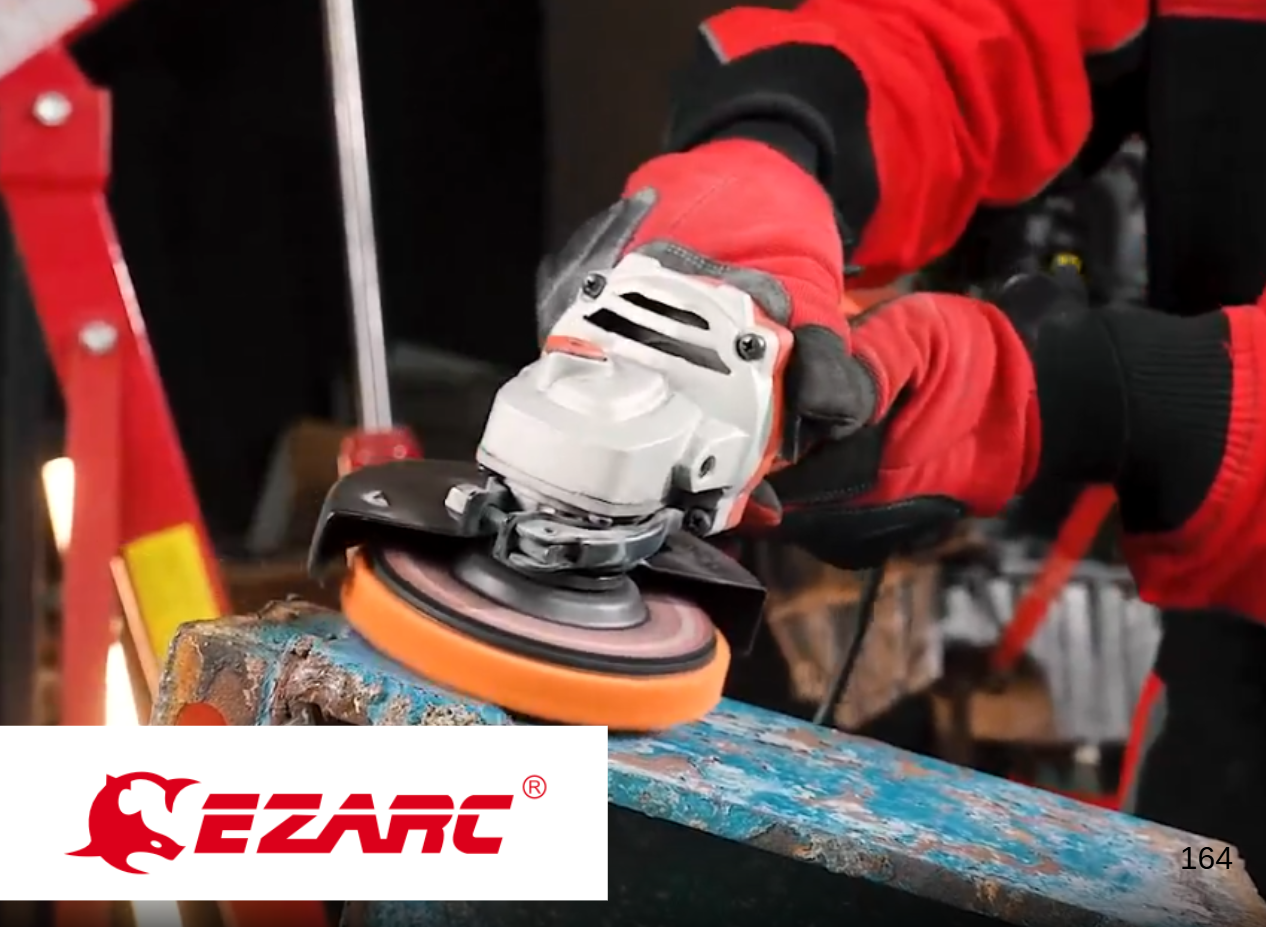
Hand sanding or a wire brush can clean a weld. Both are slow and inconsistent. This is true for stainless steel or heavy discoloration. An angle grinder with the right disc clears heat tint faster. It creates a more even result across the seam. This matters for how the final piece looks. It also affects how well a coating holds up. Once you've used an angle grinder, it's hard to go back. It's much faster than hand tools. Only use hand tools for the smallest touch-ups.

The Bottom Line
Clean welds start with good prep. An angle grinder with a stripping disc is reliable. It's the fastest way to get results. Inspect the weld carefully. Choose the right disc grade for the metal. Match it to the discoloration severity. Work in smooth, even passes. Finish with a light pass if needed. Get that sequence right. Your welds will look as good as they perform. They'll be ready for paint, coating, or inspection. No second round of cleanup will be needed.

Hinterlasse einen Kommentar
Diese Website ist durch hCaptcha geschützt und es gelten die allgemeinen Geschäftsbedingungen und Datenschutzbestimmungen von hCaptcha.