 Oscillating Multi-Tool Blades
 Reciprocating Saw Blades
 Cutting & Grinding
 Hole Saw
 Drilling
 Sanding & Polishing
 Hand Tools
 Metal Worker & Fabrication
 Woodworking & Carpentry
 Electrical & Plumbing
 Automotive
 Concrete & Masonry
 Demolition
 NEW ARRIVALS
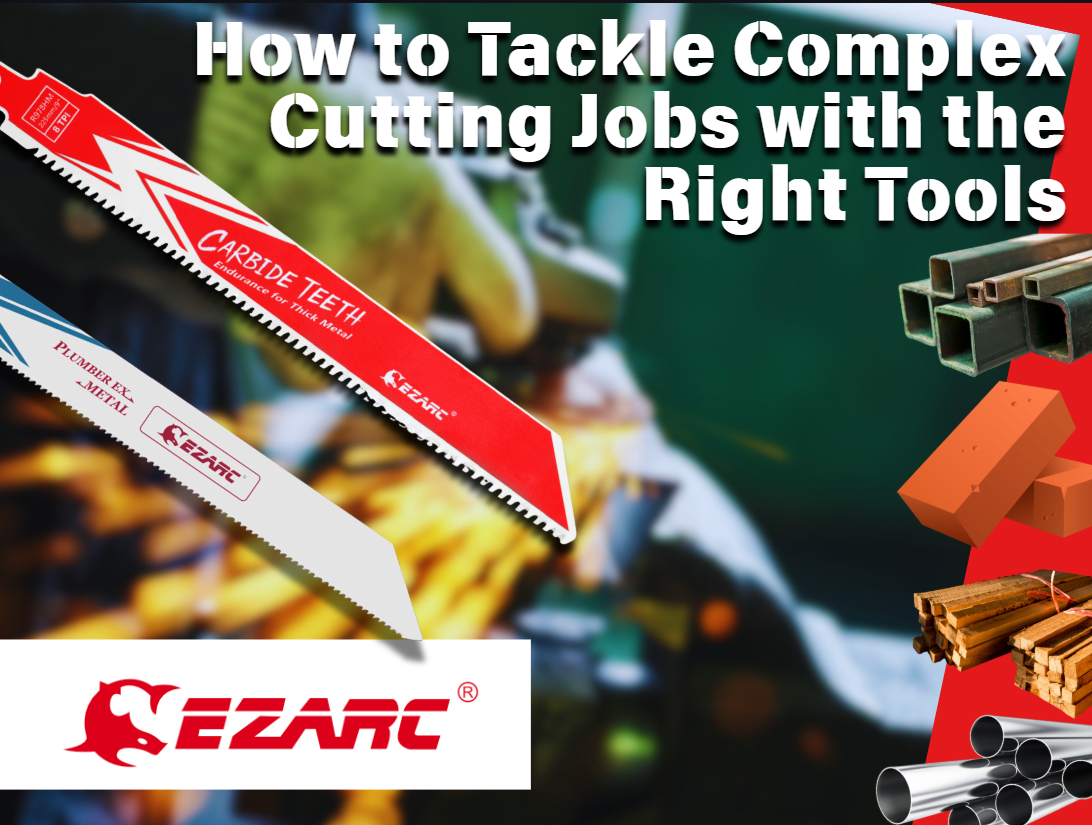
How to Tackle Complex Cutting Jobs with the Right Tools
Introduction
Complex cutting jobs have a way of turning “one quick cut” into a whole afternoon: scorched edges, wandering cut lines, burned-out discs, and blades that dull long before the job is done. The fastest way to get back control is to treat every cut as a matching problem—match the accessory to the material, the access point, and the finish quality you need. When you do that, you’ll cut cleaner, reduce heat and vibration, and avoid the classic mistakes that waste time (like forcing the tool or using the wrong tooth/grit).
This guide walks you through a practical, repeatable workflow using the accessory families most people rely on: Oscillating Multi-Tool Blades, Reciprocating Saw Blades, Cutting and Grinding Discs, Hole Saw Kits, Drill Bits and Sets, Sanding and Polishing Abrasives, Socket and Driver Sets, and a few core Hand Tools. You’ll also see where specific EZARC accessories fit naturally into each step—especially when durability and cut control matter most.
How to Tackle Complex Cutting Jobs Step by Step
Step 1: Identify material and cut type
Start by naming the material precisely (not just “metal” or “wood”). For example: thin sheet metal vs. 1/4-inch steel plate; nail-embedded lumber vs. clean pine; porcelain tile vs. soft ceramic; grout vs. mortar. Next, define the cut type: straight cut, plunge cut, flush cut, notch, radius/curve, or a round hole. This matters because tooth geometry, tooth count (TPI), and abrasive grit behave very differently depending on thickness and hardness.
A quick on-site test helps: look for fasteners, coatings, and layered assemblies. Cutting through a sandwich of wood + nails + drywall is a demolition problem (impact and tooth durability), while trimming a door jamb for flooring is a precision/flush-cut problem (control and surface finish). When you label the job correctly, you stop “experimenting” with accessories and start choosing them.
Step 2: Match tool to access point
Choose the tool based on where the cut must happen, not just what’s in your toolbox. Oscillating tools win when you need plunge control, flush cuts, or tight-space accuracy (inside corners, near finished surfaces, or cutouts where you can’t start from an edge). A reciprocating saw is built for reach and speed—great for demolition, pipe work, and rough framing cuts where finish quality is secondary.
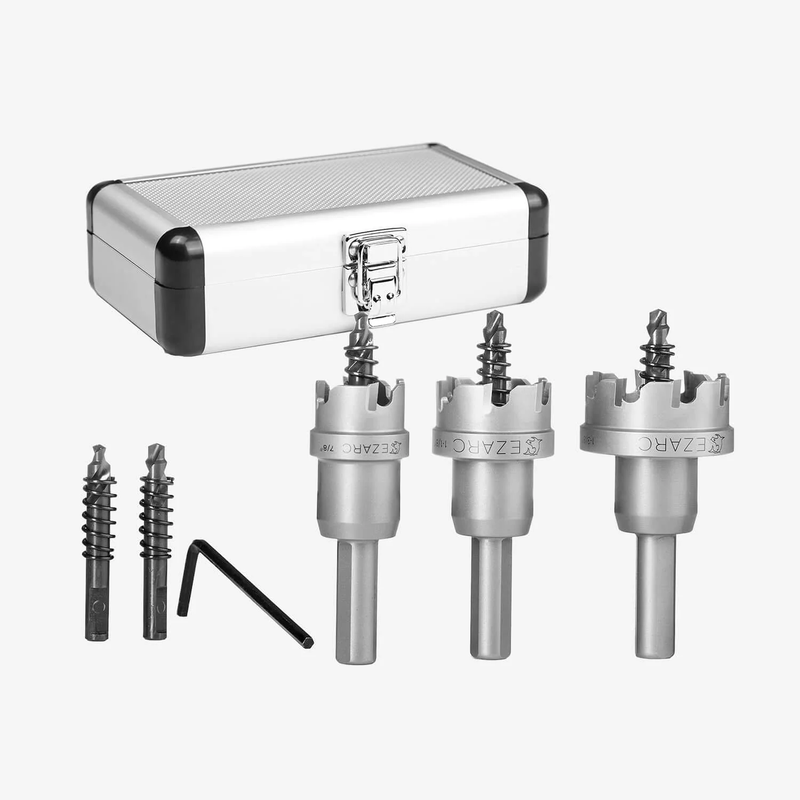
Angle grinders excel at cutting and surface prep in metal (and some masonry/tile applications with the correct wheel), but they demand stable positioning and good guarding. Drills and hole saws own the “round hole” problem, especially for conduit, plumbing penetrations, and hardware installs. If you pick the wrong tool for access, you’ll fight vibration, bind the blade, and lose line-of-cut accuracy even with a premium accessory. https://www.osha.gov/laws-regs/regulations/standardnumber/1910/1910.215
Step 3: Select the right blade style
Blade “style” is the big decision before you worry about fine details like TPI or grit. For oscillating tools, blade style includes Japanese-tooth wood blades (fast, clean wood cuts), carbide or diamond-grit blades (abrasive materials like grout/tile), and wider vs. longer profiles for reach. For reciprocating saws, style typically means bi-metal vs. carbide, and whether the blade is optimized for demolition, metal, pruning, or multi-material work.
If you routinely run into mixed materials, carbide options are often the most forgiving because they resist tooth loss in nails and hardened fasteners. For abrasive surfaces (grout, porous concrete, plasterboard), diamond grit is typically the most consistent because it “grinds” rather than relying on teeth that can chip.

Step 4: Choose the right tooth count or grit
Tooth count (TPI) and abrasive grit control speed, heat, and finish. As a rule, lower TPI cuts faster and clears chips better in thick materials, while higher TPI gives smoother cuts in thinner materials—but can overheat if you push too hard or clog the gullets. (https://www.welderssupplyco.com/abrasive-grit-and-materials-what-does-it-all-mean)Abrasives behave similarly: coarse grits remove material quickly but leave deeper scratches; finer grits refine the surface and reduce post-work finishing.
For example, when cutting medium-thickness metal, a balanced TPI keeps the blade from grabbing and reduces burrs. When grinding or blending welds, the disc’s grain and design matter: a ceramic flap disc can cut aggressively while managing heat, especially when you keep the correct working angle and avoid glazing.
Step 5: Set depth, angle, and a cut plan
Complex cuts go wrong most often before the tool ever turns on. Mark both sides of the work when possible, and mark “no-go” zones where wiring, plumbing, or hidden fasteners may be present. Clamp the work so it cannot shift; even slight movement will cause oscillating blades to chatter and reciprocating blades to wander.
Set your plan for entry and exit: where will the blade start, where will it finish, and how will offcuts fall? For plunge cuts, set a depth target so you don’t overcut into subfloor, sheathing, or hidden mechanicals. For grinder cuts, set your body position and keep the wheel aligned so you’re not twisting mid-cut—twisting is a common cause of binding, overheating, and kickback.
Step 6: Control speed and pressure
Let the accessory do the work. Forcing the tool is the fastest path to burned edges, blueing on metal, disc glazing, and premature tooth loss. Use steady, moderate forward pressure and keep the accessory at the correct angle. If you see heavy sparks, smell scorching, or feel vibration increasing, treat it as feedback: the tool is telling you the accessory is dull, loaded, or mismatched.
On oscillating tools, too much pressure increases vibration and can make the blade “walk” off the line. On reciprocating saws, maintain shoe contact with the work to reduce blade whip and keep the cut straighter. On grinders, keep the guard properly positioned, and use light passes instead of trying to remove everything in one go.
Step 7: Finish and inspect results
A “done” cut isn’t finished until you inspect and refine it. Deburr sharp metal edges, remove splinters, and verify fitment before final assembly. For holes, check alignment and clean the lip so gaskets, conduit fittings, or fasteners seat properly. For metal cuts, look for burrs and heat discoloration that may indicate excessive friction.
A quick finishing pass can also prevent future failures—especially in automotive, fabrication, or plumbing where burrs can damage seals, shred wires, or create stress risers. This is where the right accessory for cleanup saves time compared with hand-filing everything after the fact.
Scenario Variations
Tight-space plunge cuts: When you can’t access from an edge (cabinet cutouts, drywall access panels, door jamb undercuts), favor Oscillating Multi-Tool Blades with longer reach. The extra length helps you maintain a flatter tool posture while keeping the blade fully engaged.
Demolition with nails: For framing tear-out, pallet breakdown, or remodeling where you expect fasteners, lean on Reciprocating Saw Blades designed for wood/metal demolition. The right blade reduces tooth loss when you hit hidden nails.
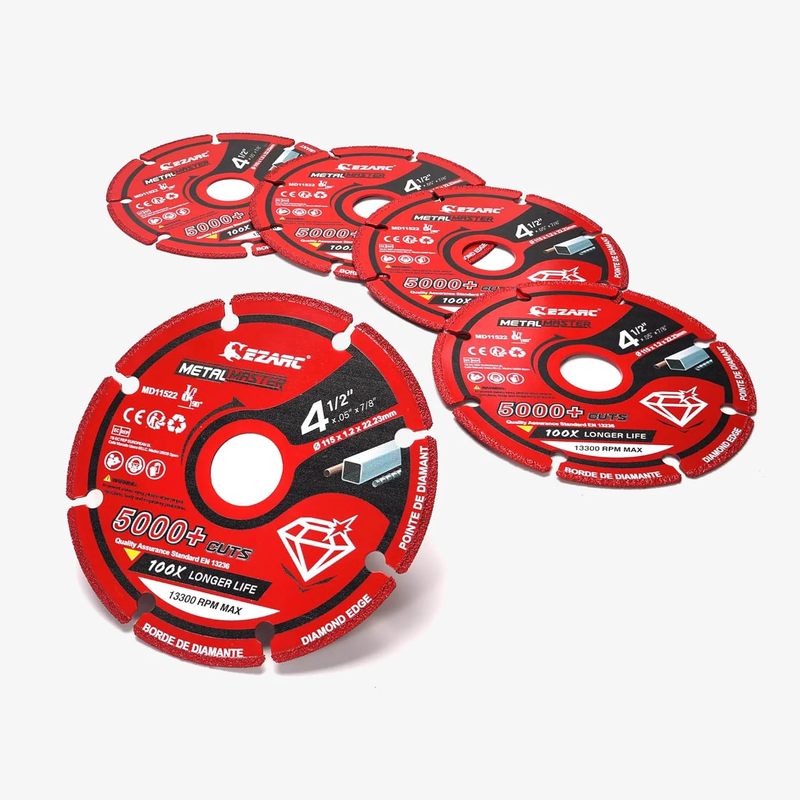
Rebar/steel cutting: For repeated metal cutoffs, a grinder with a long-life wheel can outperform thin bonded discs in consistency. Choose Cutting and Grinding Discs made for metal and maintain a stable cutting angle to reduce binding.
Clean woodworking: For finish-sensitive trim, flooring notches, and precise cutouts, use Japanese-tooth Oscillating Multi-Tool Blades and avoid forcing the tool. You’ll get cleaner edges with less tear-out and less sanding later.
What You’ll Need Before You Start
Required Tools & Materials
- Oscillating tool (for plunge, flush, and detail cuts)
- Reciprocating saw (for demolition and reach cuts)
- Angle grinder (for metal cutoffs and surface prep)
- Drill/driver (for pilot holes and drilling tasks)
- Hole Saw Kits (for conduit/plumbing penetrations)
- Drill Bits and Sets (for pilot holes, multi-material drilling)
- Clamps, straightedge, and a marker/scriber (for control and layout)
- Hand Tools (tape measure, utility knife, pry bar, deburring tools)
- shop:https://www.ezarctools.com/collections/all
Safety Considerations
Wear eye protection any time cutting or grinding can create flying particles—this is a basic requirement in professional environments and good practice for DIY users as well. OSHA’s eye/face protection standard highlights using appropriate protection when exposed to hazards like flying particles and specifies side protection when flying object hazards exist. (osha.gov)
Also manage dust proactively, especially when cutting or grinding materials that can contain silica (concrete, mortar, some tile and stone). Use wet methods or local exhaust when feasible, and avoid dry sweeping that re-aerosolizes fine dust. (cdc.gov)
Troubleshooting
| Problem | Likely Cause | Solution |
| Burning/scorching at the cut | Too much pressure, wrong tooth/grit, dull accessory | Reduce force, let the tool maintain speed, and switch to a better-matched blade/grit for the material. |
| Blade dulls extremely fast | Cutting hardened fasteners with the wrong blade material | Move to a carbide blade for mixed materials and slow your feed rate at the moment you contact metal. |
| Excess vibration/chatter | Incorrect angle, poor clamping, blade too short for access | Clamp the work, keep the tool flatter, and choose a longer/wider blade that stays stable in the kerf. |
| Cut drifts off the line | Tool not supported, rushing the cut, wrong entry plan | Stop, re-mark, make a relief cut if needed, and restart with steady shoe contact (recip) or controlled plunge (oscillating). |
| Disc glazing (won’t cut, just rubs) | Too much heat, too light pressure, wrong disc type | Dress the disc or switch to ceramic abrasives; keep a consistent working angle and avoid dwelling in one spot. |


Frequently Asked Questions
How do I prevent blade binding when cutting thick material? Blade binding usually happens when the material closes the kerf behind the blade or when the workpiece isn’t supported on both sides of the cut. Support the offcut so it can drop away cleanly, and keep the saw’s shoe firmly against the work to reduce blade whip. If the blade starts to bind, stop immediately, back out slightly, and restart once the blade is at full speed. For thick or mixed materials, switching to a more aggressive tooth profile can also help clear chips and reduce drag. https://blog.gooddayswork.ag/blog/reciprocating-saw-safety
What should I do if my cut line starts to drift off the mark? Stop cutting rather than trying to force the accessory back on line—forcing increases deflection and can damage the blade or kick the tool. Re-check that the work is clamped and that you’re not twisting the tool handle mid-cut. For small drift, you can feather back to the line over the next few inches; for larger drift, make a relief cut, remove the miscut section, and restart. Marking both faces of the material (when possible) helps you catch drift early.
Can I use one blade for wood and metal when I’m doing demolition? You can, but it’s a trade-off: a true wood blade cuts fast but won’t survive nails, while a fine metal blade cuts slowly in wood and can clog. For demolition where you expect nails, use a blade designed for mixed materials or wood/metal applications so tooth durability is the priority. Adjust your technique when you hit metal—reduce pressure and let the blade “work” through the fastener to avoid tooth damage. Keeping a dedicated wood blade and a demolition blade on hand usually saves time overall.
How can I get a cleaner finish with an oscillating tool cut? First, use a blade style designed for clean cutting (Japanese-tooth profiles are often preferred for wood). Second, keep the tool flatter and use light, controlled passes rather than burying the blade to full depth immediately. For longer cuts, score a shallow guide line first, then deepen the cut gradually to reduce tear-out. Finally, plan a quick finishing step—light sanding or edge deburring—so the final fit looks intentional.
When should I replace a blade or disc for safety reasons? Replace accessories when you see visible damage (missing teeth, cracks, warping), when cutting speed drops dramatically, or when the tool begins to vibrate more than normal. For grinders, never use a wheel that shows cracks or has been dropped hard; discard it instead of “testing it.” A dull accessory also increases risk because you’ll instinctively push harder, which raises heat, binding, and kickback potential. When in doubt, swap—especially on overhead, awkward, or high-force cuts.
Conclusion
Complex cutting jobs get easier when you follow a consistent process: identify the material, pick the right tool for access, match blade style and tooth/grit to the task, and control speed and pressure. Build a small, reliable kit across Oscillating Multi-Tool Blades, Reciprocating Saw Blades, Cutting and Grinding Discs, Hole Saw Kits, and Drill Bits and Sets, and you’ll spend far less time troubleshooting mid-cut. Finish with quick deburring and surface cleanup using Sanding and Polishing Abrasives and the right Hand Tools so the final result is safe, clean, and ready to assemble.

Table of Contents
How to Tackle Complex Cutting Jobs with the Right Tools
- Introduction
- How to Tackle Complex Cutting Jobs Step by StepStep 1: Identify material and cut typeStep 2: Match tool to access pointStep 3: Select the right blade styleStep 4: Choose the right tooth count or gritStep 5: Set depth, angle, and a cut planStep 6: Control speed and pressureStep 7: Finish and inspect results
- Scenario Variations
- What You’ll Need Before You StartRequired Tools & MaterialsSafety Considerations
- Troubleshooting
- Frequently Asked Questions
- Conclusion


댓글 남기기
이 사이트는 hCaptcha에 의해 보호되며, hCaptcha의 개인 정보 보호 정책 과 서비스 약관 이 적용됩니다.